
How to use Sugo
Share something in — or photograph a page. It files ingredients, steps and time. No ads, no feed.
1. Share in
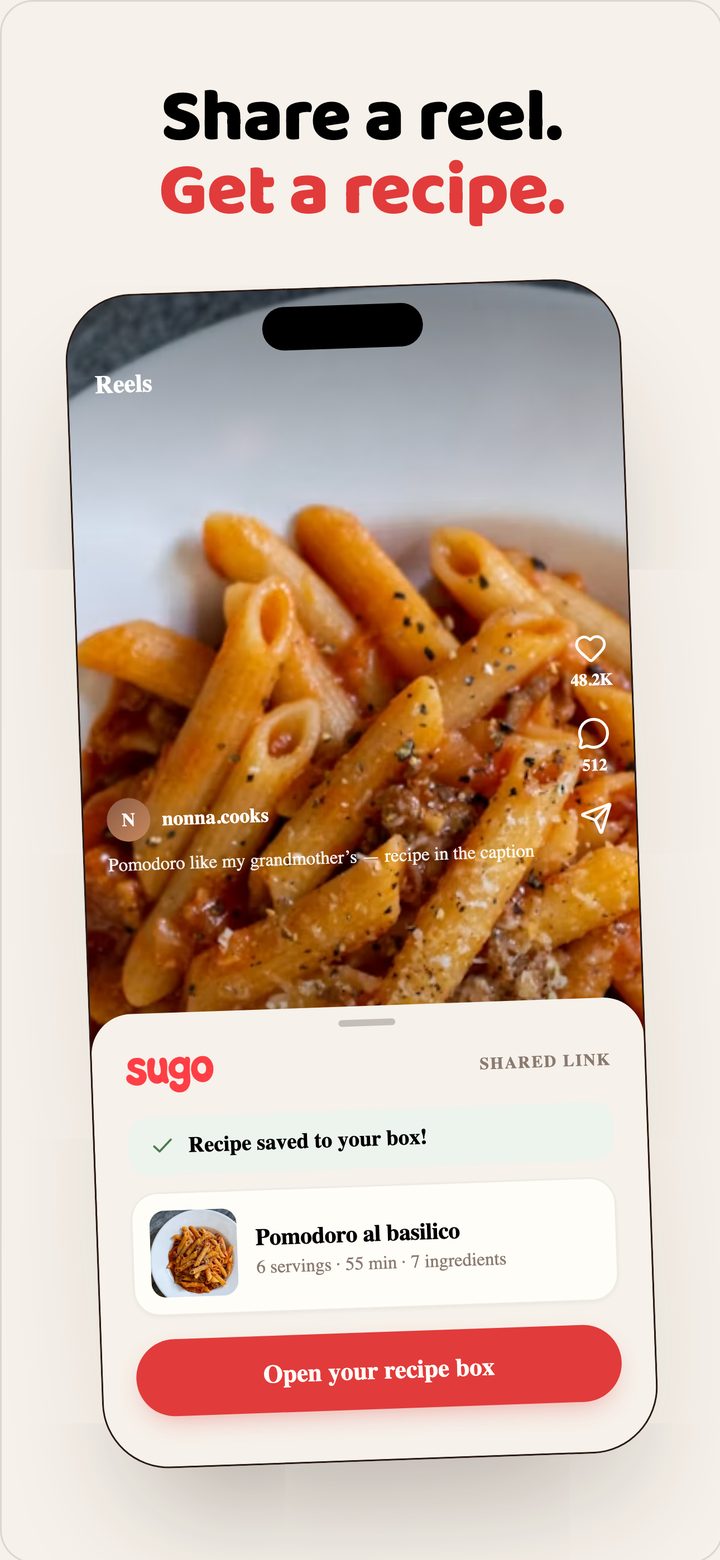
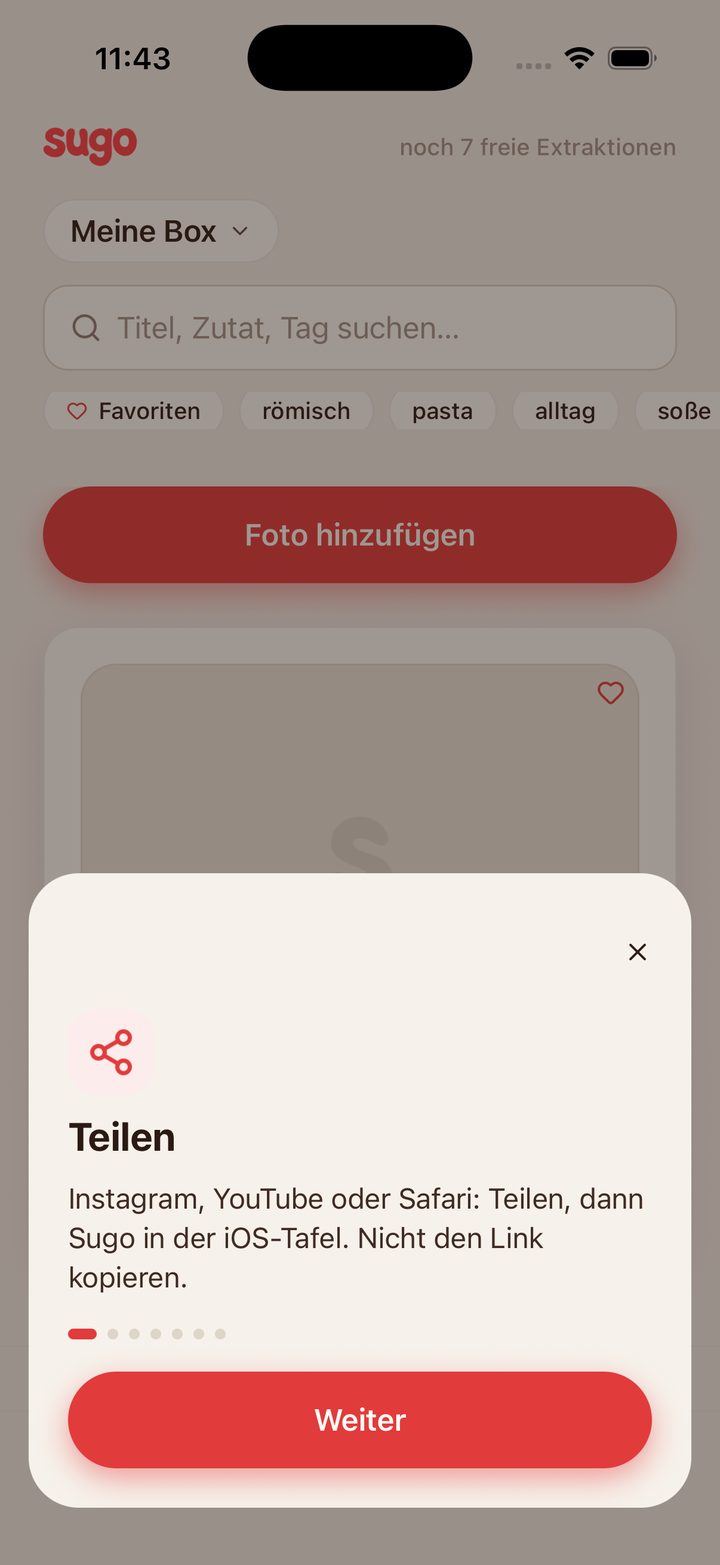
In Instagram, YouTube or Safari: tap Share, then the Sugo icon in the iOS share sheet. Don’t copy the link. Missing icon: swipe the row, or More / Favourites.
2. Photograph a page
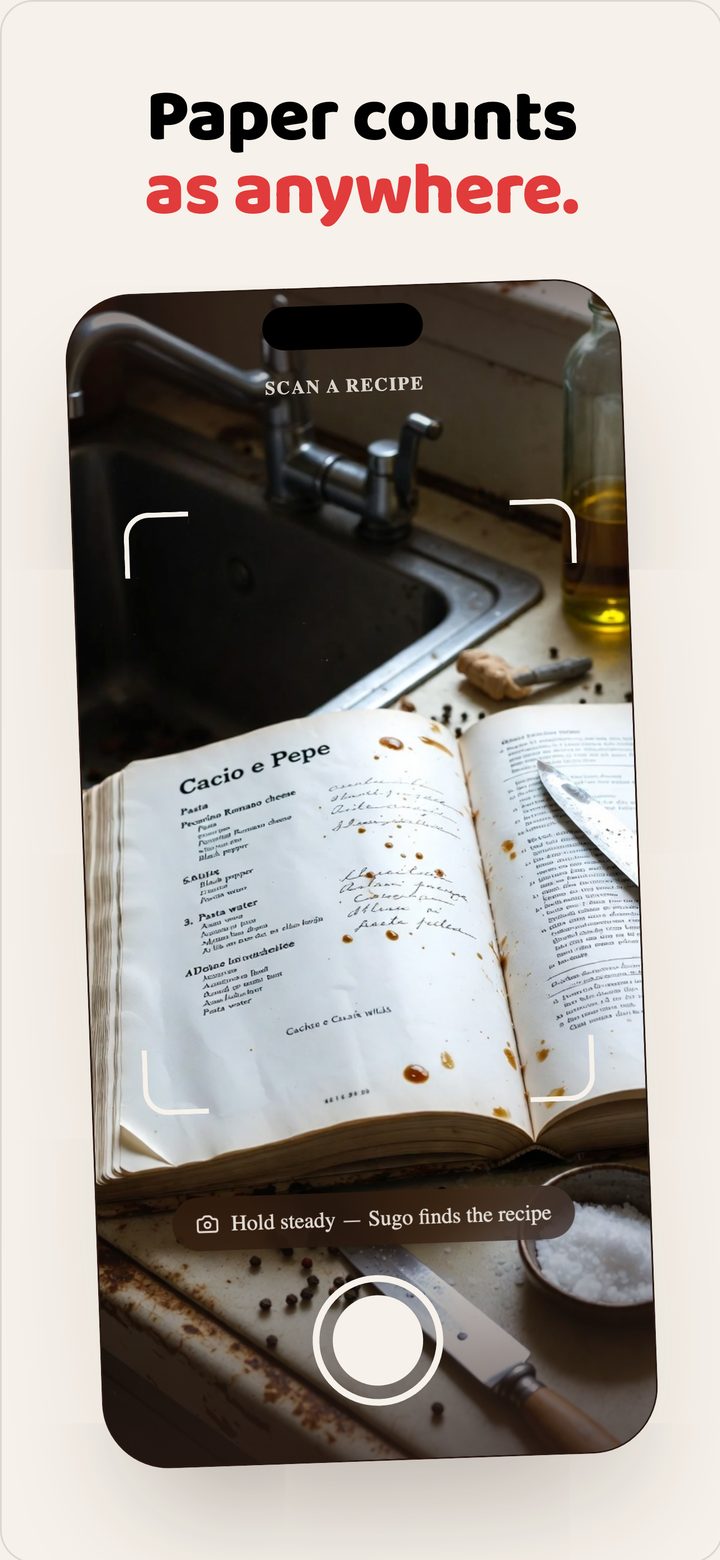
On the box: Add a photo. Take one or pick from the library. The phone reads the text (OCR). Only that text is sent — like a caption. No text: more light, fill the frame.
3. The box
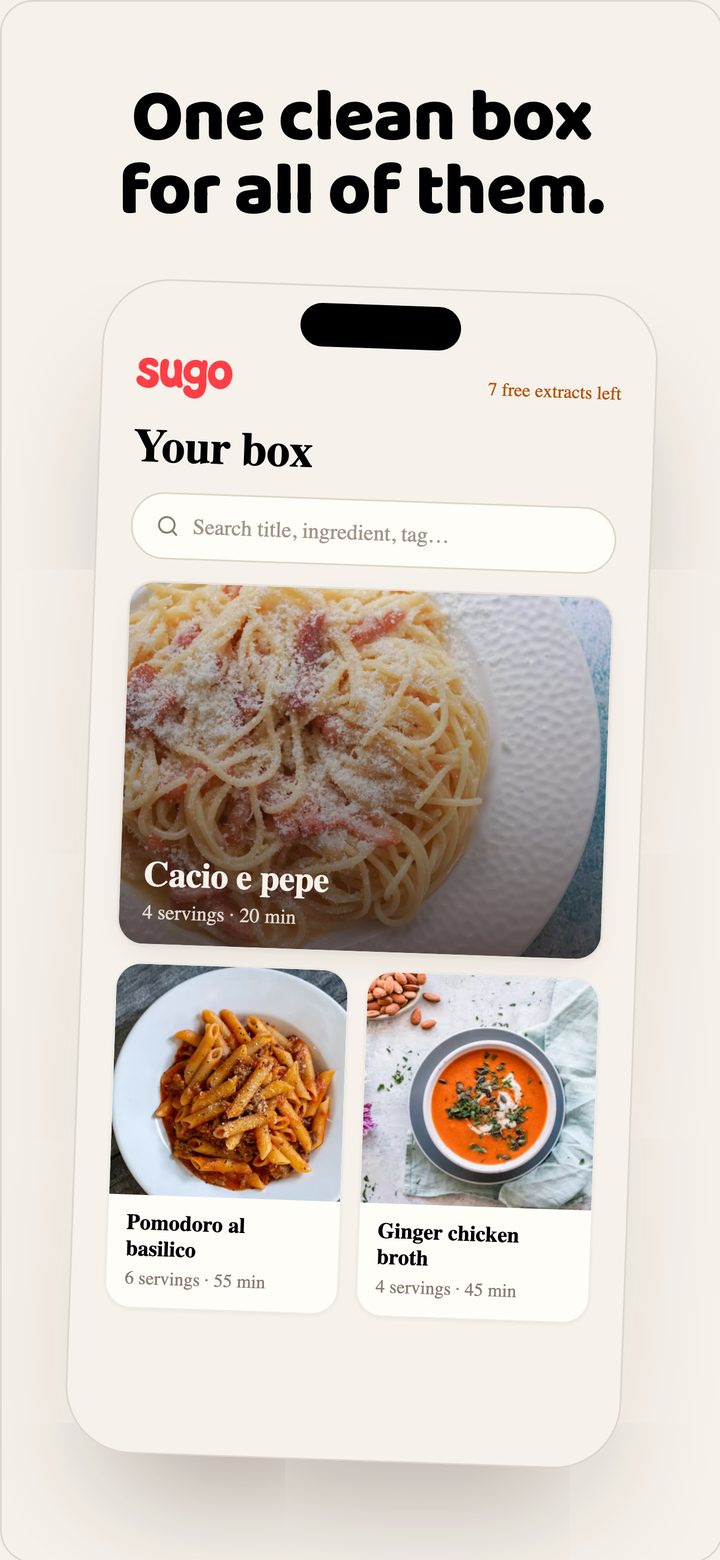
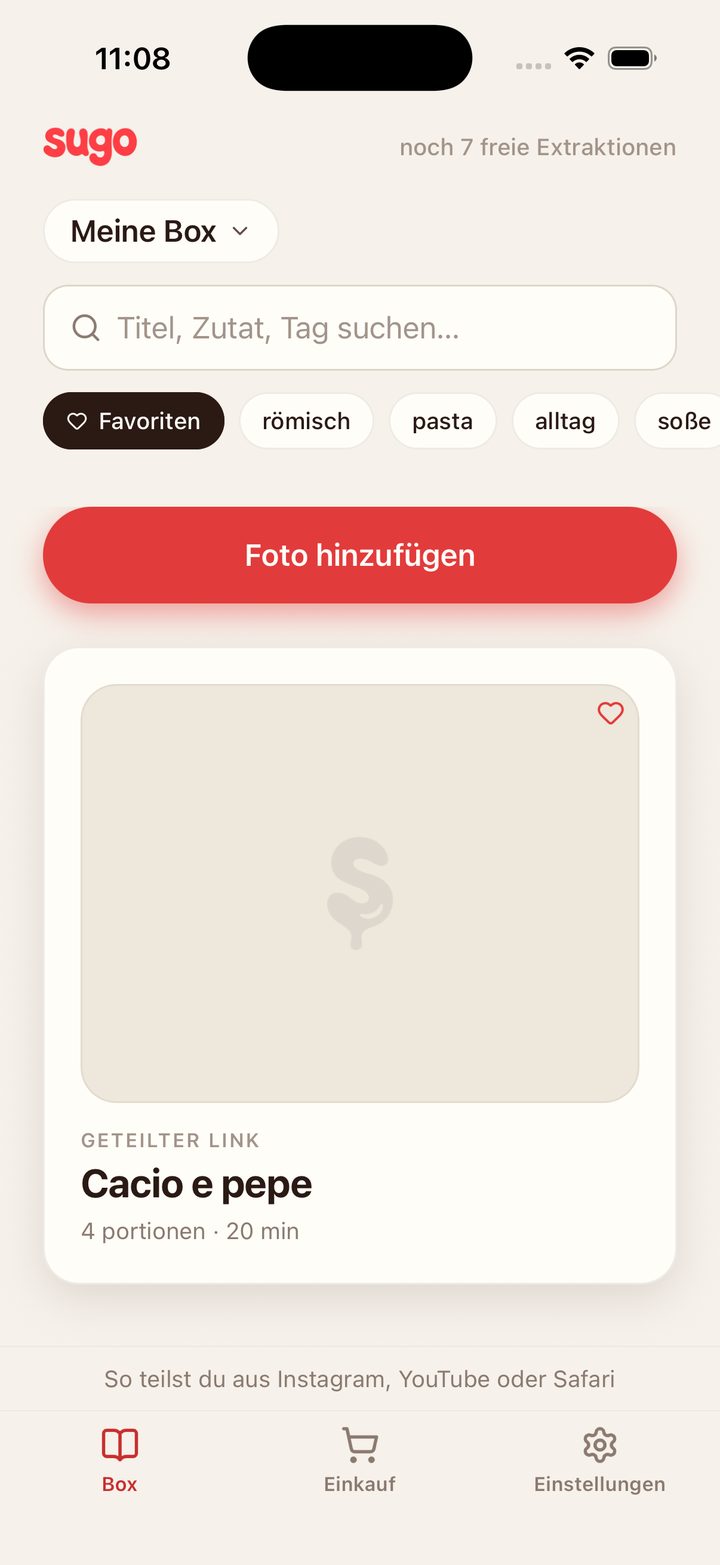
Everything you save lands in a box. Search title, ingredient or tag. Several boxes: tap the name at the top. Invite with a link; default invite is editor.
Heart a recipe on its photo. On the box, tap Favorites — a filter, not a second box.
4. A recipe
Scale servings on the recipe. Pencil edits photo, tags, ingredients and steps. Stars and notes sit at the bottom.
5. Cook and shop
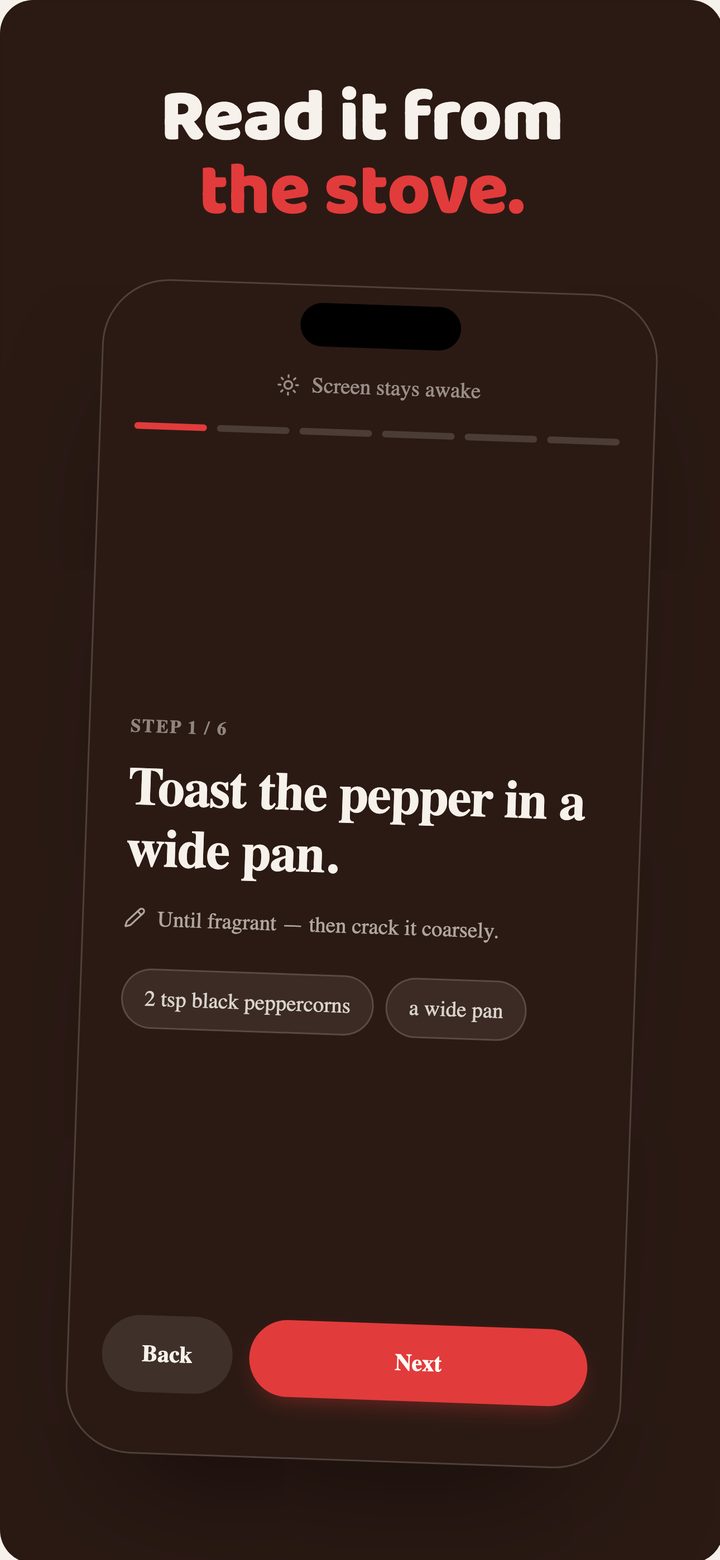
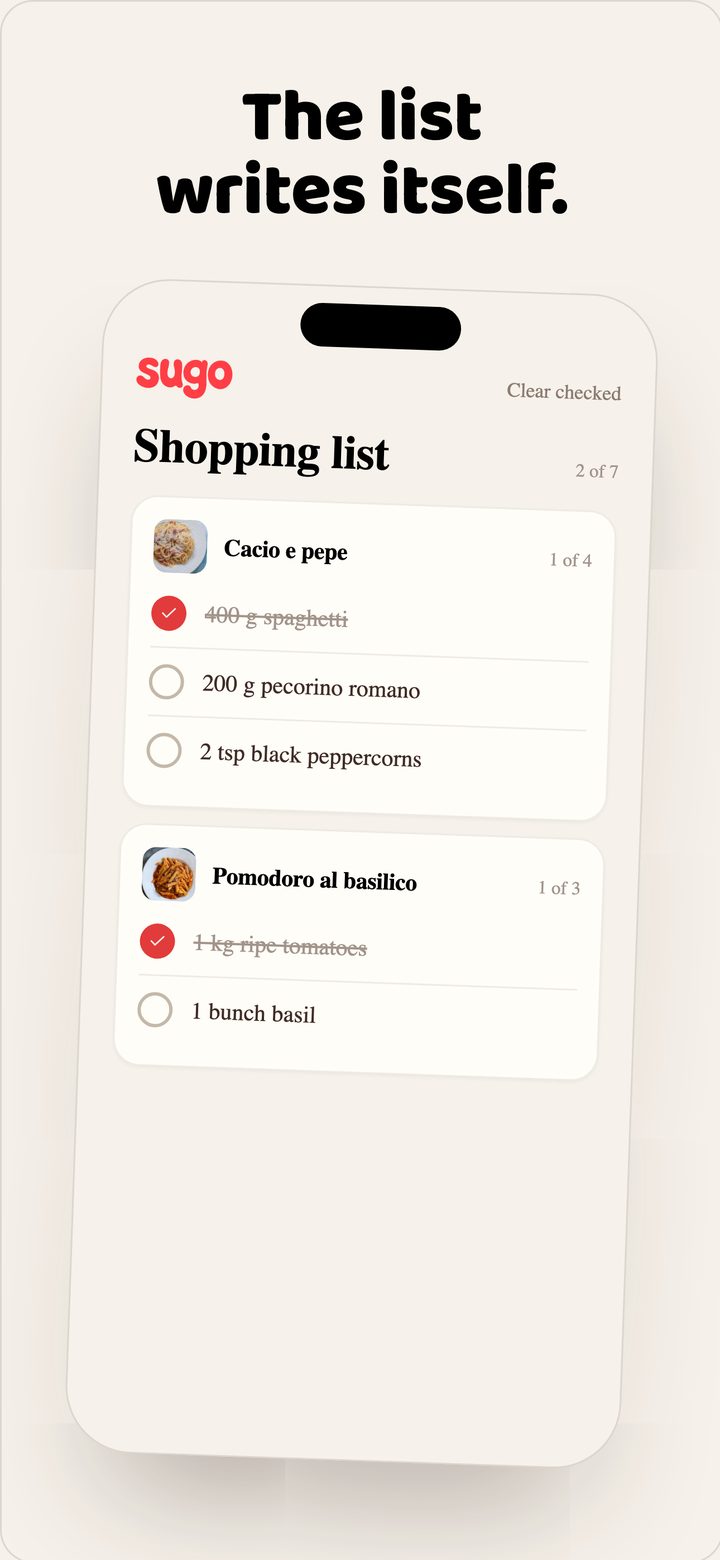
Cook mode: one step, screen stays awake. Add to shopping list puts the ingredients on the list in the app.
6. Bring!
On the recipe, next to Add to shopping list: Send to Bring!. Same from the shopping tab. Ingredients open in Bring!. One way — the list in Sugo stays. Bring! must be installed.
7. Account
Email or Sign in with Apple. 7 free extracts, then €9.90 a year via Apple. Cancel in Apple ID. The box stays yours if you stop paying.

Replay this in the app: Settings → How it works. Share-in again: the hint under the box.